SKU: EPXCE

Deep Pour Epoxy Casting Resin – Clear Epoxy Resin

$28.00$84.00

Deep Pour Epoxy Casting Resin – Clear Epoxy Resin


General Information

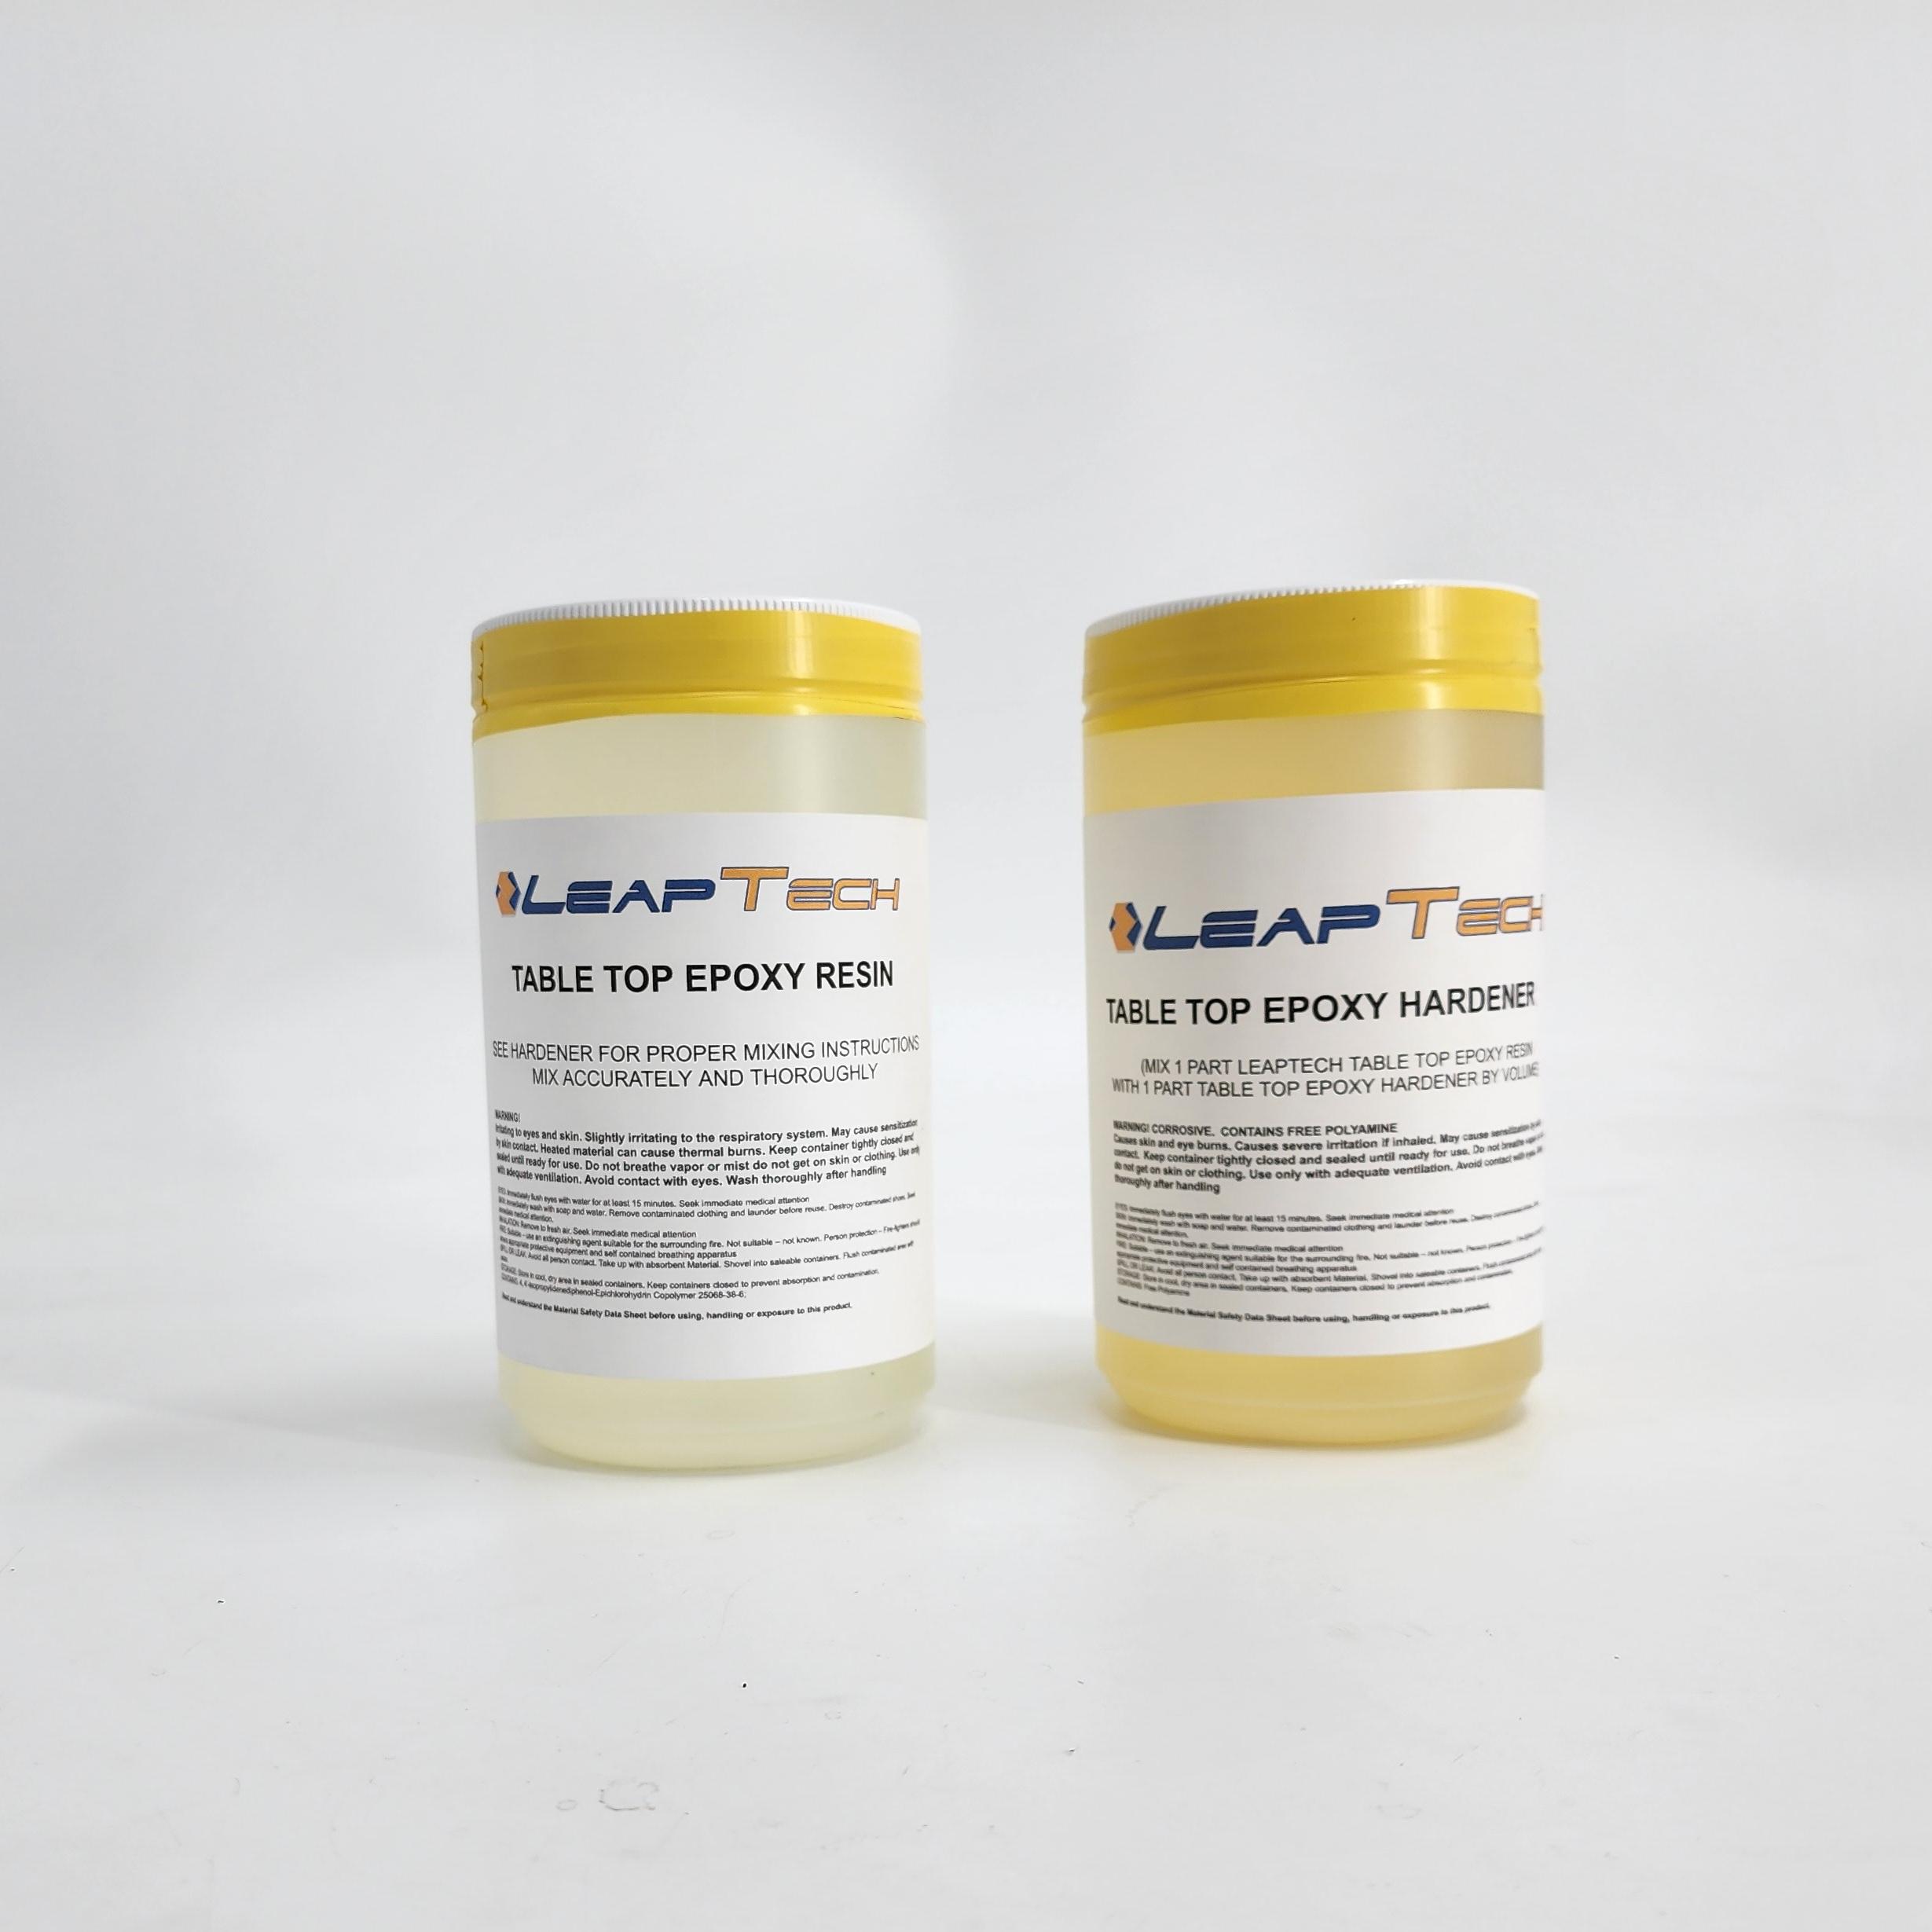
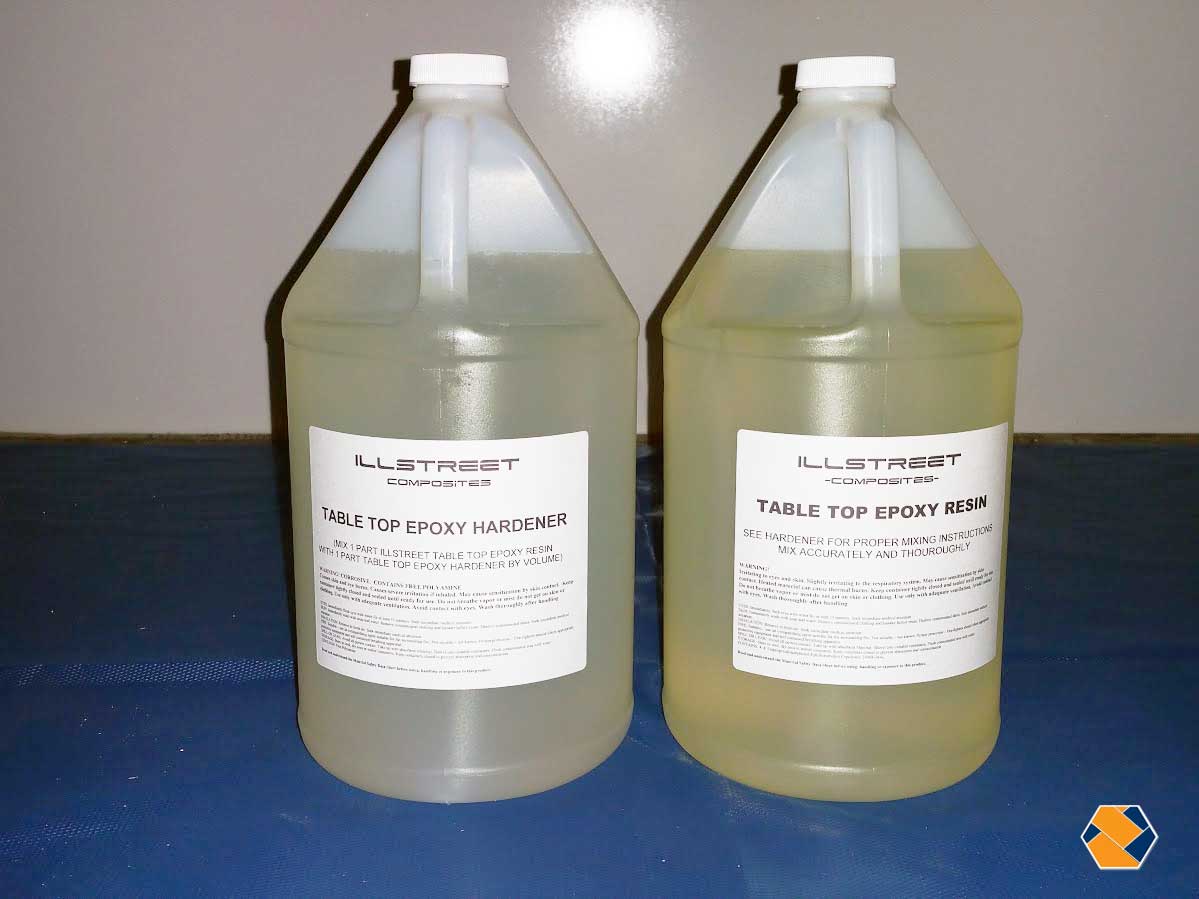
Product Name: Deep Pour Epoxy Casting Resin – Clear

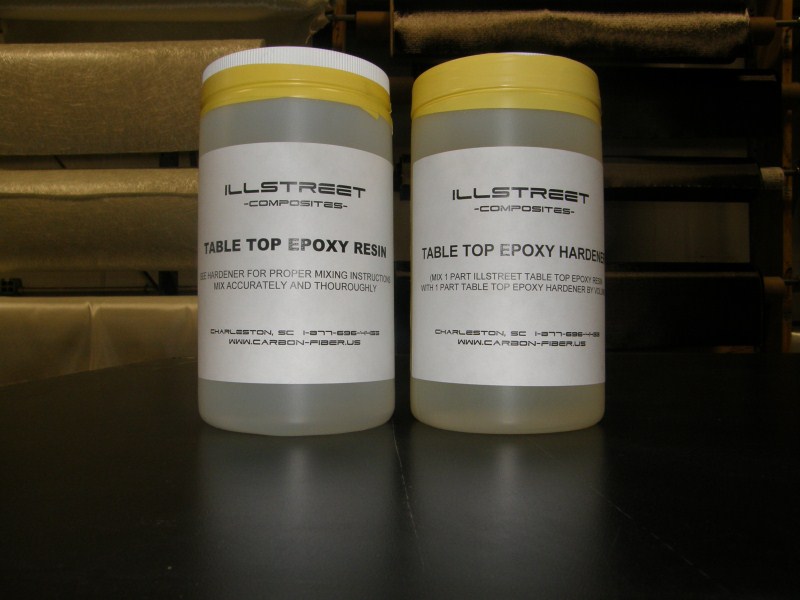
This product is a 100% solid, two-component, clear polymer coating that is mixed at a 1 to 1 ratio by volume. Each kit contains a bottle of resin and a bottle of hardener. The product cures to a clear, high build, glass-like finish that resists scratching, yellowing and will not distort with age. Items coated with it will become permanently preserved and protected for your enjoyment throughout a lifetime. This product will not exhibit blushing or sweat out under high humidity conditions. We have thoroughly tested this material with half of a part exposed to UV for over a year and you can’t even tell which side was covered!

With a mix ratio of 1 to 1, this epoxy resin system is easy to use and dries clear, making it perfect for river tables, live-edge tables, jewelry, and other artistic projects.

Safety Information

Precautions:

  1. Always work in a well-ventilated area.
  2. Wear protective gloves, safety goggles, and a mask when handling and mixing the resin.
  3. Keep out of reach of children and pets.
  4. Avoid contact with skin and eyes. In case of contact, rinse immediately with plenty of water and seek medical advice.
  5. Do not ingest. If swallowed, seek medical attention immediately.

Storage:

  • Store in a cool, dry place away from direct sunlight.
  • Ensure lids are tightly sealed to prevent contamination and moisture ingress.

Instructions for Use

Step 1: Preparation

  • Ensure the working surface is clean, dry, and free from dust or debris.
  • Measure the amount of resin needed for your project.

Step 2: Mixing

  • Mix the resin and hardener in a 1:1 ratio by volume.
  • Stir slowly and thoroughly for at least 5 minutes, ensuring there are no streaks.

Step 3: Pouring

  • Pour the mixed epoxy resin slowly into your mold or desired area.
  • Use a heat gun or torch to remove any bubbles that may form on the surface.

Step 4: Curing

  • Allow the resin to cure for the recommended time, typically 24-72 hours, depending on the depth of the pour and ambient temperature.
  • Once fully cured, the epoxy will be hard and clear.

Step 5: Finishing

  • Sand any rough edges or surfaces if necessary.
  • Apply a top coat or polish for added shine and protection, if desired.

General Epoxy Information

Epoxy resin is a two-component system consisting of a resin and a hardener. When mixed together, they undergo a chemical reaction that transforms them from a liquid to a solid state. This reaction is exothermic, meaning it releases heat. The versatility of epoxy resin makes it a popular choice for various applications, from DIY crafts to industrial uses. Its adhesive properties, durability, and high-gloss finish make it a favorite among artists and craftsmen.

Note: Always refer to the product’s specific label and instructions before use. Individual product specifications may vary.

  • Primary use:
    This product is commonly seen on bar tops and table tops in many bars and restaurants.
  • Application:
    The product should be applied in two stages. The first stage is referred to as the seal coat. The seal coat is brushed on in a thin layer and is used to seal any pores in the surface and prevent air bubbles from forming in the following flood coats. This stage is followed by the flood coat, which will flow and self level, clean brushes or squeeges can be used to help spread the epoxy. Flood coats are applied in 1/8″ layers at a time, as many as desired can be applied, however one to three coats is average for most table or bar coatings.
  • Recoating/Between Layers:
    Recoating can usually be be done within 4 to 8 hours. If re-coated within this time period no sanding is necessary between layers.
    If your previous layer has fully dried, light sanding with 220 or 320 grit sandpaper is recommended to achieve a good bonding surface. After sanding you should wipe down with a solvent such as denatured alcohol, acetone or lacquer thinner to remove any impurities from the surface. (do NOT use mineral spirits)
  • Embedding Pictures:
    Objects, such as pictures, maps etc. can be imbedded in this product during the pours. Most photo quality paper does not require any special preparation however sometimes thin paper objects must first be sealed with a white glue or similar product to prevent the epoxy from fully penetrating the paper and causing it to become transparent.
  • Embedding Solid Objects (wood, rocks, shells, etc.)
    All porous materials should first have a seal coat of epoxy applied. This will prevent air bubbles from occurring in subsequent flood coats. Usually the objects can be set in place before sealing.
  • Working Conditions:
    For best results the product should be used at temperatures from 70-80 degrees F. The room which you are working should be clean, dry, dust and insect free. Settling dust can often cause blemishes on the glassy surface.
  • Exterior Applications:
    Please not that although this product will resist yellowing better than other epoxies it is NOT 100% UV resistant. Continuous outdoor UV exposure over months or years will cause the finish to lose its gloss and cause gradual changes in color.


    Coverage: See the coverage calculators below to figure out how much table top epoxy you need for your bar top or project. Remember not to combine seal and flood coat coverages.

Amount of Table Top Epoxy needed for rectangular areas

Flood coats are designed to go on approximately 1/8″ or .125″ thick,
Seal coat coats are just thick enough to seal any bubbles or dust in place and only need to be .02″ thick.

Example: A 6ft x 4ft bare wood table (24sq ft) would require 2 Quarts to complete ONE seal coat and about a gallon and a half to complete ONE flood coat for a total of Two Gallons.

inches
inches
inches
cubic inches
Gallons
Gallons

Amount of Table Top Epoxy needed for circular areas

inches
inches
cubic inches
Gallons
Gallons

Recommended Supplies

Graduated Mixing Cups – An accurate measurement is extremely important to achieve optimum curing.

Applicators – Rubber squeeges are simple to use and leave no air bubbles. Foam brushes and nylon bristle brushes are preferred with epoxy, make sure there are no loose hairs.

Hair Drier, Heat Gun or Torch – These are used after the pour is completed and the epoxy is still liquid. A very smooth stroke across about 6-12 inches above the epoxy surface will burst remaining air bubbles.

Reviews

There are no reviews yet. Be the first one to write one.

Leave Your Review